
When Should You Replace a Radiator?
The time for replacing your radiator depends on the quality of your installation, your unit and your upkeep. If you are noticing uneven heat distribution or a total absence of heat and have tried bleeding and flushing your radiators, it may be time for a new one.
Why Should You Replace a Radiator?
It's crucial to take care of your radiators all year round to ensure they're working as they should and stand the test of time. To prevent you sitting in the cold all winter, it may be time to bite the bullet and replace any radiators that aren't working as they should be! If you’re looking for new designer radiator ideas, have a browse of our radiator styles and options or take a look at some of our most popular radiators below.
Time to Replace Your Radiator
Radiator installation isn't the easiest job in the world but it can be done without a plumbing expert. If you do have doubts then we always recommend calling in an expert to prevent any mistakes.
Tools For Replacing A Radiator
You’re going to need a fair few tools to ensure your radiator replacement goes smoothly. Here's what you need:
You Will nNed:
- New radiator
- New radiator brackets
- 2 adjustable spanners
- A radiator bleed key
- A digital detector
- A hammer drill (for masonry) or a drill driver (for internal walls)
- A masonry drill bit
- Steel wool
- PTFE (thread seal) tape
Other Bits and Bobs:
- An old washing up bowl
- Some old rags
- A mate to lend a hand
- A notepad and pen
Once you’ve gathered the above paraphernalia it’s time to start learning about how to replace a radiator!
Note: If you're planning on simply adding a radiator then you can skip right down to Step 4.
Step 0 – A Sure Foundation
We start here because it’s useful to point out and something that many forget. You do not want to fit your brand new radiator to a wall that’s not structurally sound, so please ensure it is!
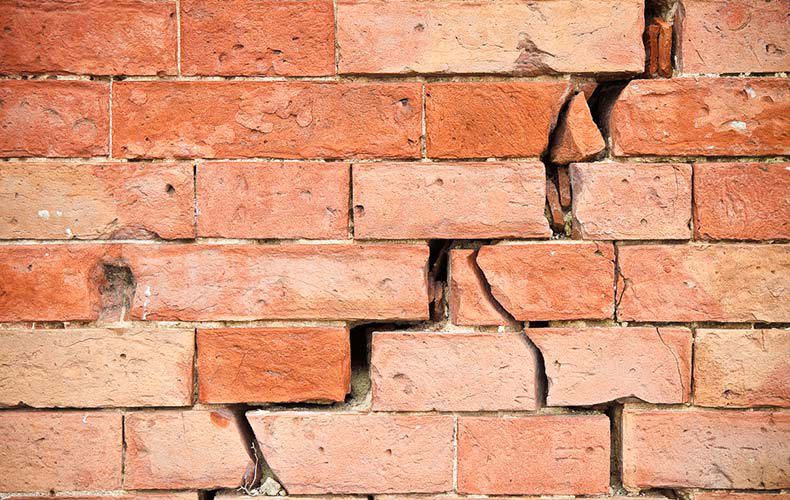
If you see cracks or crumbling then that’s the job to do first – replacing plaster walls is a lot harder when your beast of a new radiator has just pulled them down entirely. When you have a nice, solid location for your radiator replacement then it’s time to get stuck in.
Step 1 – Interdimensional
When choosing your replacement radiator it makes sense to choose one that uses the same dimensions as your previous unit to save a lot of work later on. However, if the dimensions of your new radiator are different, it simply means making alterations to your pipework.
Step 2 – Drain Time
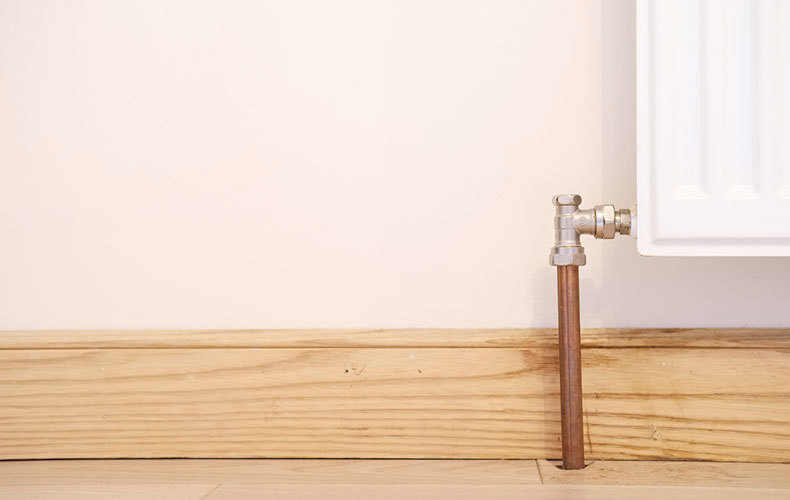
If your house features modern plumbing fittings then draining the system is a relatively simple task. Just clear away the flooring and skirting and we can get down to business.
With the central heating turned off, shut off the radiator valves by turning clockwise, or to the “off” position if you have a thermostatic radiator valve.
Those with a lockshield valve should remove the plastic shield and turn clockwise. Ensure you count the number of turns so you can set the same flow rate with your new radiator. Time to write some figures in that notepad, we reckon!
Now grab that old bowl and place it below the draining valve. Loosen the cap nuts connecting your radiator to the valve, which may take some welly so use the second spanner to avoid a slip that may well compromise the surrounding pipes.
Step 3 – Still Draining
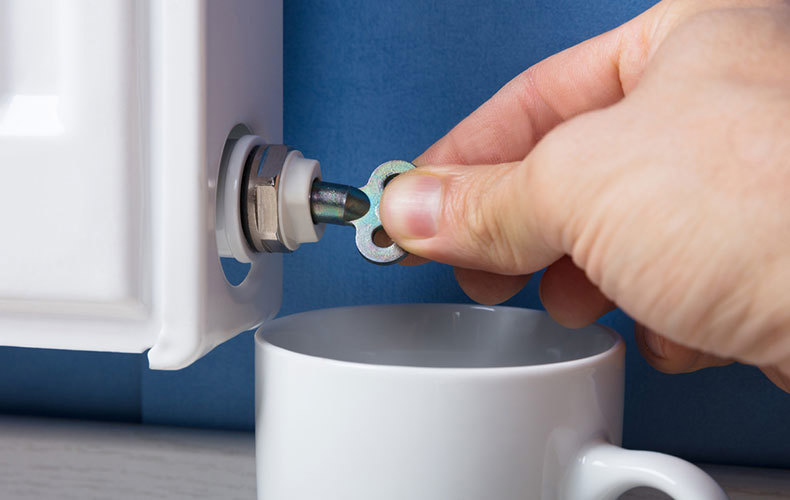
Open the bleed valve with your radiator bleed key and loosen the connecting cap nut between the valve to drain out all of the water in the bowl. If the bowl gets full, temporarily tighten the bleed valve to empty the bowl for another round.
It may be surprising how much draining a radiator takes, as well as the colour of what comes out. If it’s an old radiator there’s going to be a lot of rust and grime build-up in the system. Once empty, you can fully disconnect the opposite valve and free the radiator.
Step 4 – Out with the Old
Grab your mate and lift the old unit away from the wall. Take a second to tip it over the bowl to shake out any excess water, then stuff rags into both ends to ensure it doesn’t ruin your prize rug. For more information, take a look at our guide on how to remove a radiator.
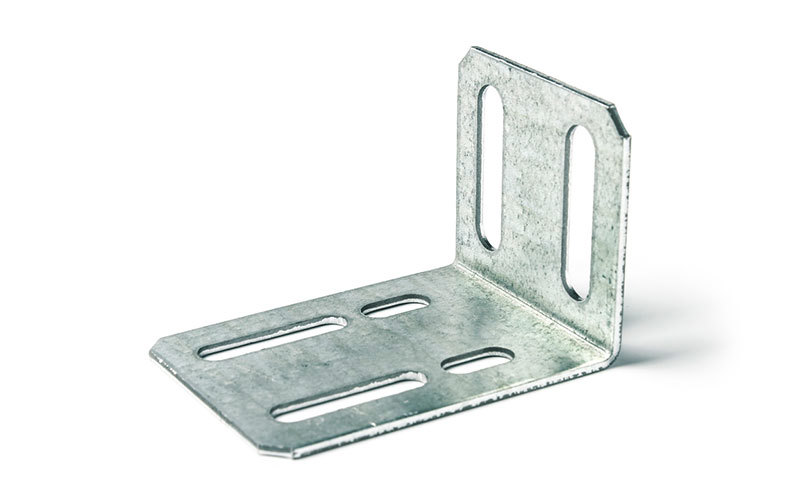
Step 5 – What a Bracket
Now if the brackets of your new radiator have the same dimensions as your previous unit, there’s no drilling to be done.
But if you’re drilling into walls you first need to confirm what type of walls you have. There are two main types:
- Studwork
These are hollow-space walls with timber skeletons affectionately known as studs and noggins. It’s in the centres of these beams that you’ll find the strongest and best anchor points for your new radiator brackets.
- Masonry and Brick
This heavy-duty option is more common in older houses and will provide a far more resilient base for your new radiator than studwork. If this is your wall type, you can really go to town when replacing a radiator.
When you’ve figured this out, it’s time to drill. Whip out your digital detector to ensure you don’t pierce anything important back there and use the correct drill bit for the walls you have.
Step 6 – In With The New
With your brackets fitted, now’s a great opportunity to fix reflective radiator tape to the wall that your replacement radiator will cover. This will bounce heat back into your room and lower those sneaky bills.
Now carefully remove your old unit’s valve connectors and clean with wire wool. Then wind your PTFE tape around the threads about 10-15 times to ensure a watertight seal!
Screw these into your new radiator fully and hang it on the wall. Et Voila! Pending some adjustments you can step back and admire your handiwork!
Reconnect and reset your valves using the numbers of turns that we hope you wrote down – some experimentation may be due if not, which is why we always recommend summer as the season for replacing a radiator!
Step 7 – Open the Floodgates
OK, now for the big moment. Time to let water enter your replacement radiator!
When you open the radiator bleed valve you can anticipate some gurgling as this allows the air to escape and the water to fill your new radiator. When your bleed valve begins to bubble at the nipple, recheck all of your joins, pipes and turns one more time and then you are ready to seal it off.
Step 8 – The Finishing Touches
Your successful job is a great opportunity to service your other home radiators. Check all of your radiators closely and keep an eye out for exciting opportunities such as radiator bleed valve replacement or changing a thermostatic radiator valve.
Then it’s time to run radiator rust inhibitor through both your new radiator and your existing home radiators. This fantastic liquid will minimise corrosion and protect your new radiator for the longest possible time! You can add a radiator inhibitor to your system at any time so why not do so while you’re in the zone.
The Brass Tax – What Replacing Your Radiator Costs
Depending on the tools you already have to hand, replacing a radiator is not as costly as you think. We have designer radiators in a range of sizes to suit every room so take your time and find a replacement radiator that’s really special.
If you’d like to run your existing radiator’s dimensions by us for recommendations then please do. Our experts really can’t get enough of talking about radiators!


