
Our resident DIY expert explains how to remove sludge from a radiator in this handy step by step guide. But what is sludge?Sludge in your radiators, is an accumulation of dirt and rust, which limits the flow of water around your radiator and reduces its performance. This can impact a variety of radiators including vertical radiators, bathroom radiators and heated towels rails.
Diagnosing Radiator Sludge
If you're not sure whether you need to flush your radiators, here are a few simple checks.
Check the colour of the water when you bleed your radiators. Seeing dirty water when bleeding your radiators? Here’s what it could mean:
Clear: Radiator has no or very little sludge.
Slightly brown: Sludge is starting to build up, so flushing is recommended.
Very dark brown: Flush your radiators as soon as possible.
Additionally, you might be experiencing the following symptoms if your radiators contain sludge:
-
Noisy boiler
-
Radiators taking longer to heat up
-
Cold spots at the bottom of the radiator
Tools For Flushing a Radiator:
- Old towels/sheets
- Radiator bleed key
- 2 adjustable wrenches
- Bucket
- PTFE tape
- Garden hose
How To Flush a Radiator:
- Turn off your heating
- Spread towels
- Turn off valves
- Drain the radiator
- Remove & flush radiator
- Reconnect your radiator
Step 1: Turn Off Your Heating
Before you can take your radiator off the wall, you'll need to turn off your heating system and let it cool down for at least an hour. Make sure you leave it to cool down for long enough as if you come into contact with water, you don't want it to be hot!
Step 2: Spread Out Your Towels
Next up you need to protect your floors by spreading out your towels around the radiator. In particular, make sure the areas under the valves are protected.
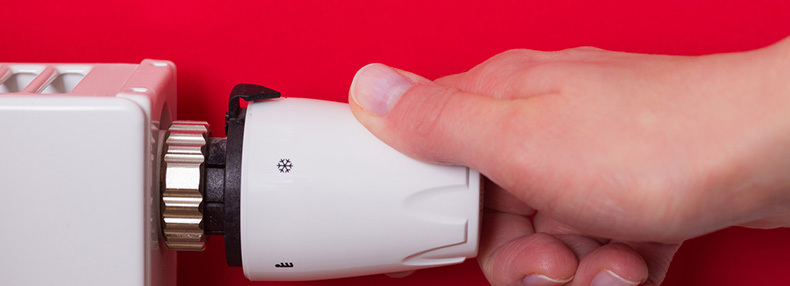
Step 3: Turn Off The Valves
Next up, you'll need to cut the radiator off from the rest of the system:
- First turn off the thermostatic radiator valve (TRV) by twisting it to the '0' or 'off' position.
- Move to the other side of the radiator to the lockshield valve. Remove the plastic cap then use a wrench to turn the valve off clockwise. When turning off the lockshield valve, count the number of turns it takes and note that number down. This will help you re-balance your radiators later on.
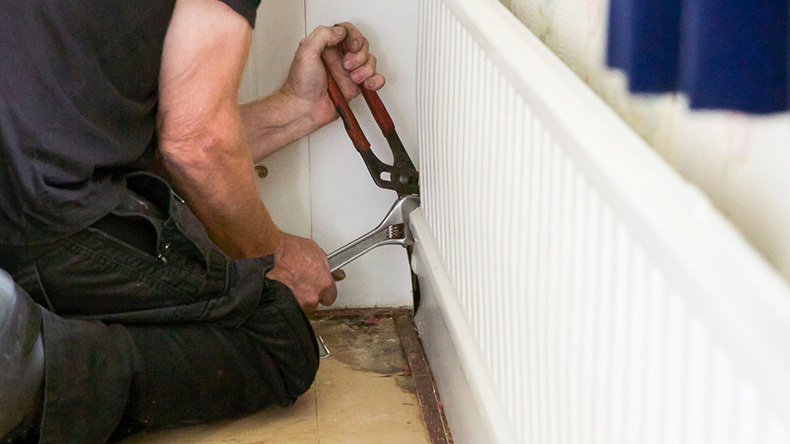
Step 4: Drain The Radiator
- Place your bucket underneath the TRV. Grip one wrench onto the body of the valve while using the other to loosen the nut that joins the radiator to the valve.
- Use your bleed key to open the bleed valve, this allows air into the radiator which will help the water flow out.
- Collect everything that comes out of your radiator into the bucket.
- Loosen the lockshield valve the same way as above to let more water out. You can also now tilt the radiator to ensure you've emptied everything out.
- Close the bleed valve with the key.
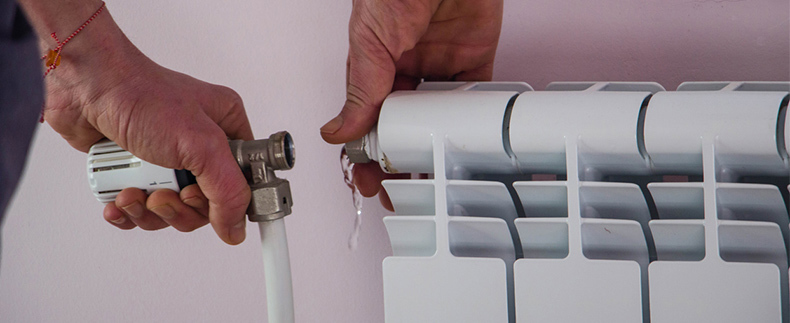
Step 5: Remove & Flush The Radiator
- Once the water has stopped flowing out, you can now completely disconnect the radiator and remove it from the brackets. Tilt the radiator to one side as you lift to tip any remaining water into your containers.
- You can now take the radiator outside to flush it out. Place your hose onto the pipe inlet and turn on the water to flush out any sludge inside. You can move the hose to the inlet on the other side and continue rinsing until the water coming out the other end is clear.
Step 6: Reconnect Your Radiator
- Once you've finished flushing out your radiator, you can reconnect it using the above instructions in reverse order.
- When reconnecting your radiator, turn the lockshield valve by the same number of turns you noted down earlier.
- Open the bleed valve at the top of the radiator to release any trapped air.
If all went well, you should have now successfully flushed your radiator.
What Causes Sludge in a Radiator?
Sludge is primarily a mixture of dirt fragments and iron oxide pieces that over time come loose from the soldered connections, radiators, and piping. Therefore, the likelihood of the system having some heating sludge build up increases with system age.
Rust and dirt come together to form a sticky liquid. Some of the particles settle and gather when this combination moves through the central heating system's parts. Over time, sludge can block the system to the point that radiator heat is uneven, the radiators don't function correctly, or the radiators don't heat up at all.
Preventing Radiator Sludge Issues
Power-Flushing
If you're still having problems after flushing a radiator, then a power flush may be needed to clear not only your radiators but your pipes as well.
Magnetic Boiler Filters
A magnetic boiler filter before your boiler will remove sludge, rust or magnetic particles before they can get into your system.
If you've flushed your radiator and you're still having problems with your heating system, take a look at our guides on how to bleed a radiator, diagnosing a radiator not working and replacing a radiator.


